List Children
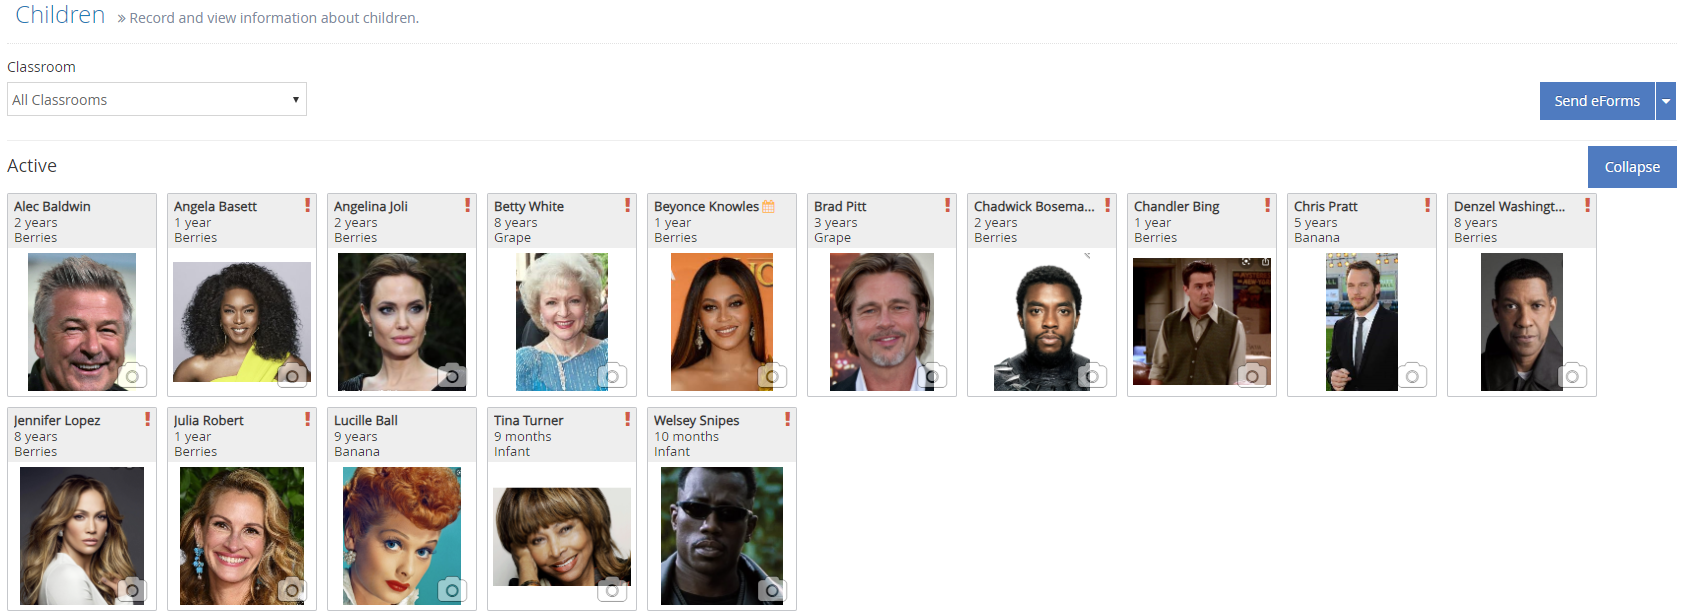
The Children page lists all participants you have currently enrolled.

-
From the menu to the left, click Children, then List Children. A list of you children displays.
-
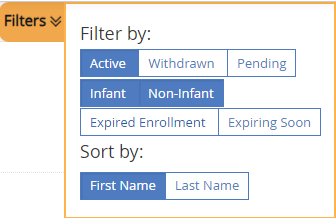
Click Filters in the top-right corner to set filters and sorts. You can filter by enrollment status and sort by first or last name.

-
Click the Classroom drop-down menu at the top of the page and select a classroom to view. You can also leave it blank or select All Classrooms to view all classrooms.
-
Children will have alerts that show up next to their name. Keep an eye out for these alerts:
-
If you see a red
 in the top right corner of the child box, this means that some required information is missing OR an expiration date has been reached.
 -
If you see an orange
 in the top right corner of the child box, this means that an expiration date is expiring in the next 30 days.
-
-
Click a name to view participant details. For more information, see Edit Participant Details.
Add Photos
Add child photos for an easy way to quickly locate a child.
-
From the menu to the left, click Kids.
-
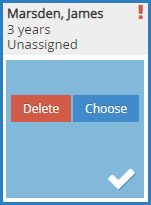
Click
.
-
Click Choose.
-
Specify whether to take a photo or to select a photo you already have.
-
Click
to upload the photo.
Enrollment Expiration View
This is Policy D. 01e. To turn it on your sponsor must change this policy to Yes in their administration settings.

-
When an
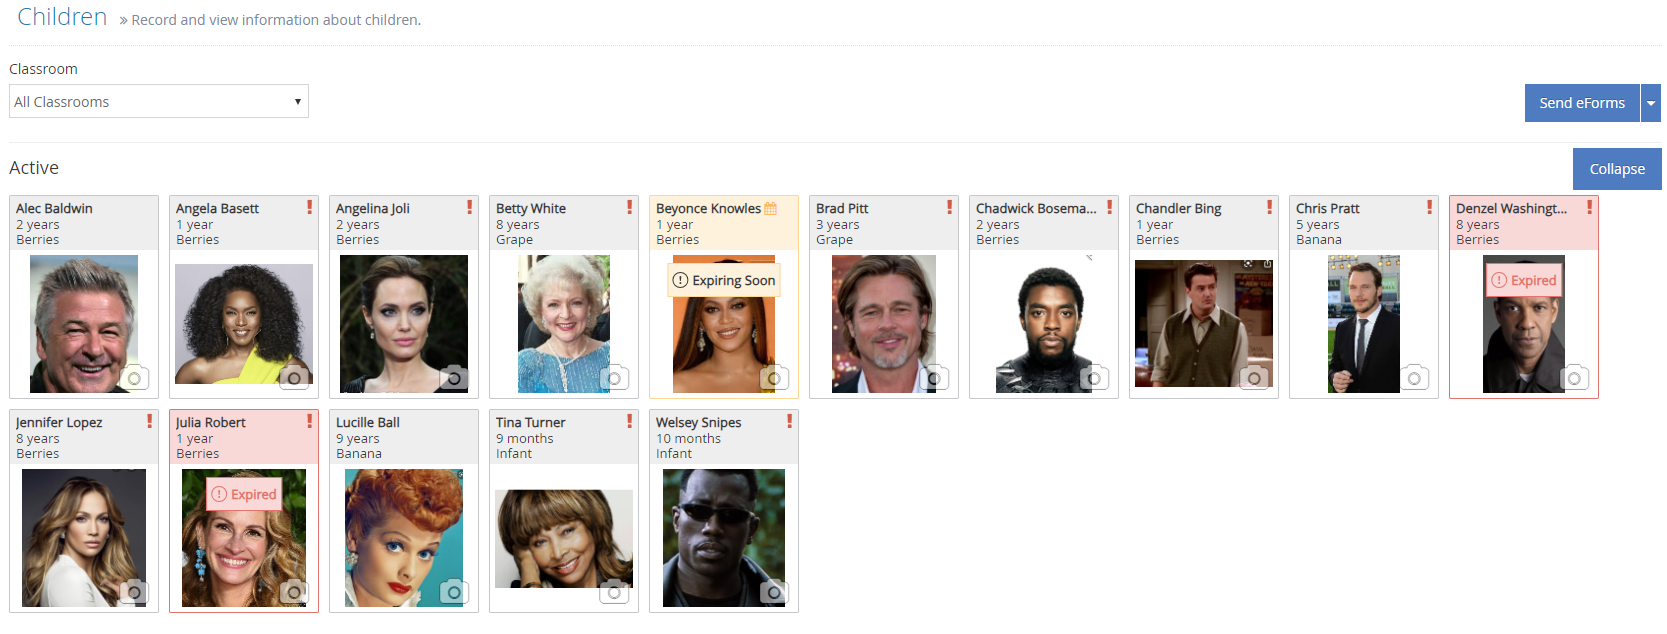
 alert shows up on the child, this means their Enrollment Expiration Date will expire within the next 30 days. This is a visual reminder to the center to collect an updated enrollment form.
 -
When an
 alert shows up on the child, this means their Enrollment Expiration Date has already expired and the enrollment form needs to be updated in order to be able to claim this child.
 -
At the top of the screen you will see an Updates Needed pop-up. Click on View Now to see a filtered view of only children with enrollments that are Expired or Expiring Soon.

-
Additional filters have been added so that you can filter children by enrollment expiration status from the here as well.


