Set Up Siblings in KidKare Food Program
If you are a commercial childcare center, use these instructions to set up siblings in KidKare.
-
From the Participants page, select the child to update. The View Participant page opens.
-
Click Add Contact in the Contacts tab.
-
Enter the contact's name in the First Name and Last Name boxes. These must match the contact on the sibling record.
-
Click the Relationship drop-down menu and select this contact's relationship to the participant.
-
Click Save.
-
Designate the contact as a Payer of invoices. See Designate Payers for Invoices below for more information.
Designate Payers for Invoices
Before you can create an invoice for a participant, you must designate at least one Payer on the participant record.
- From the menu to the left, click Accounting.
- Click Accounts. The Account Details page opens.
- Select a participant. The Participant Account Details page opens and displays information for the last participant you viewed.
- Click the drop-down menu at the top of this page to select the participant for whom to add a payer.
- Click
 in the Contacts section to the left. If you are updating an existing contact, select the contact from the Contacts section to the left.
 - In the Contact Details section, check the Payer of Invoices for Participant Care box. If you are entering a new contact, complete the contact's details.
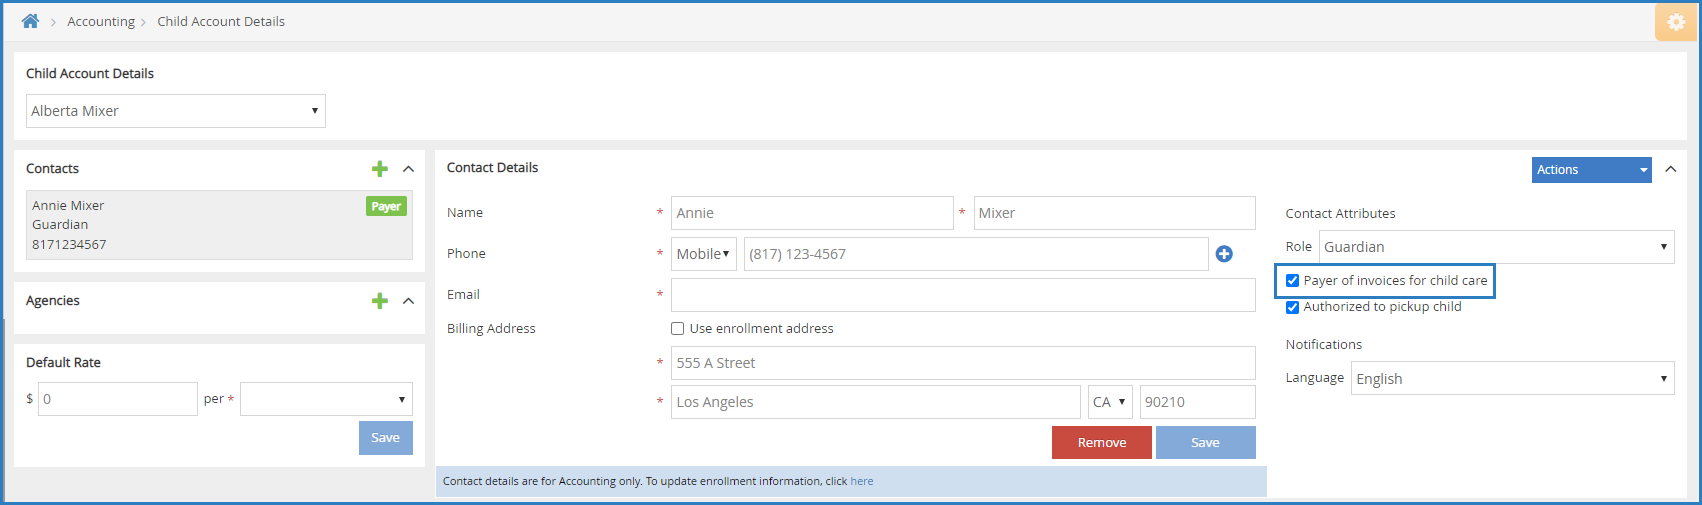
- Click Save.
- To send a welcome letter to this payer, click the Actions drop-down menu and select Send Welcome Letter.
Set a Default Rate for Invoices
Each participant can have a default rate charged to their account. When you assign a default rate in the participant account record, invoices created for that participant default to this rate.
- From the menu to the left, click Accounting.
- Click Accounts. The Participant Account Details page opens and displays information for the last participant you viewed.
- Click the drop-down menu at the top of the page and select the participant to update.
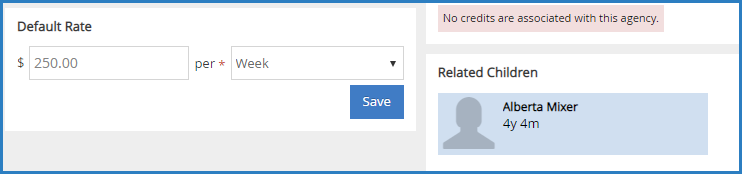
- In the Default Rate section, click the $ box and enter the base charge.
- Click the Per drop-down menu and choose from the following:
- Hour
- Half Day
- Day
- Week
- Two Weeks
- Month
- Attendance
- Click Save.
Split Payments Between Payers
KidKare Accounting allows you to split payments between contacts and agencies, as needed. This allows you to divide payments between payers and agencies, agencies and agencies, or payers and payers. This division can be done on a percentage or dollar amount basis.
You must have multiple contacts/agencies set as payers on a participant account before you can see this option.
- From the menu to the left, click Accounting.
- Click Accounts. The Participant Account Details page opens and displays information for the last participant you viewed.
- Click the drop-down menu at the top of the page and select the participant to change.
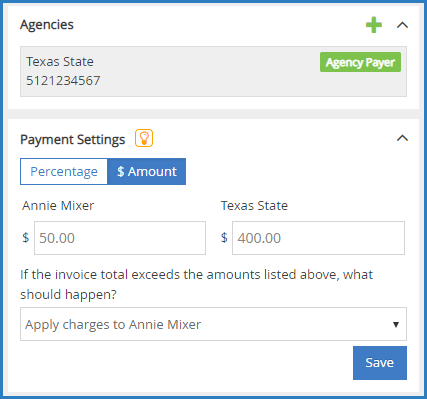
- In the Payment Details section, select Percentage or $ Amount.
- Enter the percentage or dollar amount each contact/agency is responsible for paying in the corresponding boxes. Percentage amounts must add up to 100%.
- If you selected $ Amount in Step 4, click the If the Invoice Total Exceeds the Amounts List Above What Should Happen drop-down menu and choose the contact/agency to whom to apply charges.
- When finished, click Save.
Now, when you create an invoice for this participant, any payers designated on the account appear on the Add Invoice page. Note that all payers are selected by default, and their payment amounts display.
Understand Invoice Statuses
Your invoices can be at any one of six statuses. Review the table below to learn what each status means and when it is applied.
|
Status
|
Description
|
|---|---|
| Draft | The invoice was created, but has not yet been sent to the Payer. The total amount of the invoice and the balance is visible. |
| Partially Paid | The invoice was created and sent to the Payer, and the Payer has paid only part of the total due. The total amount on the invoice is visible, and the Invoice Balance column shows less than the Total Amount column. |
| Unpaid | The invoice was created and sent to the Payer, but the Payer has not made any payments towards the balance. The total amount and the balance are both visible. |
| Paid | The invoice was created and sent to the Payer, and the Payer has paid the balance in full. |
| Declined | The invoice was created and sent to a Payer who has auto-pay enabled on their account, but their form of payment was declined. The total amount and the balance are both visible. |
| Deleted | You have deleted the invoice. The total amount and the balance are both still visible. If you do not want the balance to show in your total amount, close the invoice instead of deleting it. Closing an invoice erases the balance and prevents it from being shown in your total amount and on reports. |