The eForms page provides a central place for you to view enrollment status for all participants in your care. Click here to download a printable checklist, and click here to download a printable startup guide. We also recommend you watch the video below. When you're ready, click a link below to jump to a specific topic in this article.
Filter the eForms Page
Your food program sponsor must enable this feature.
-
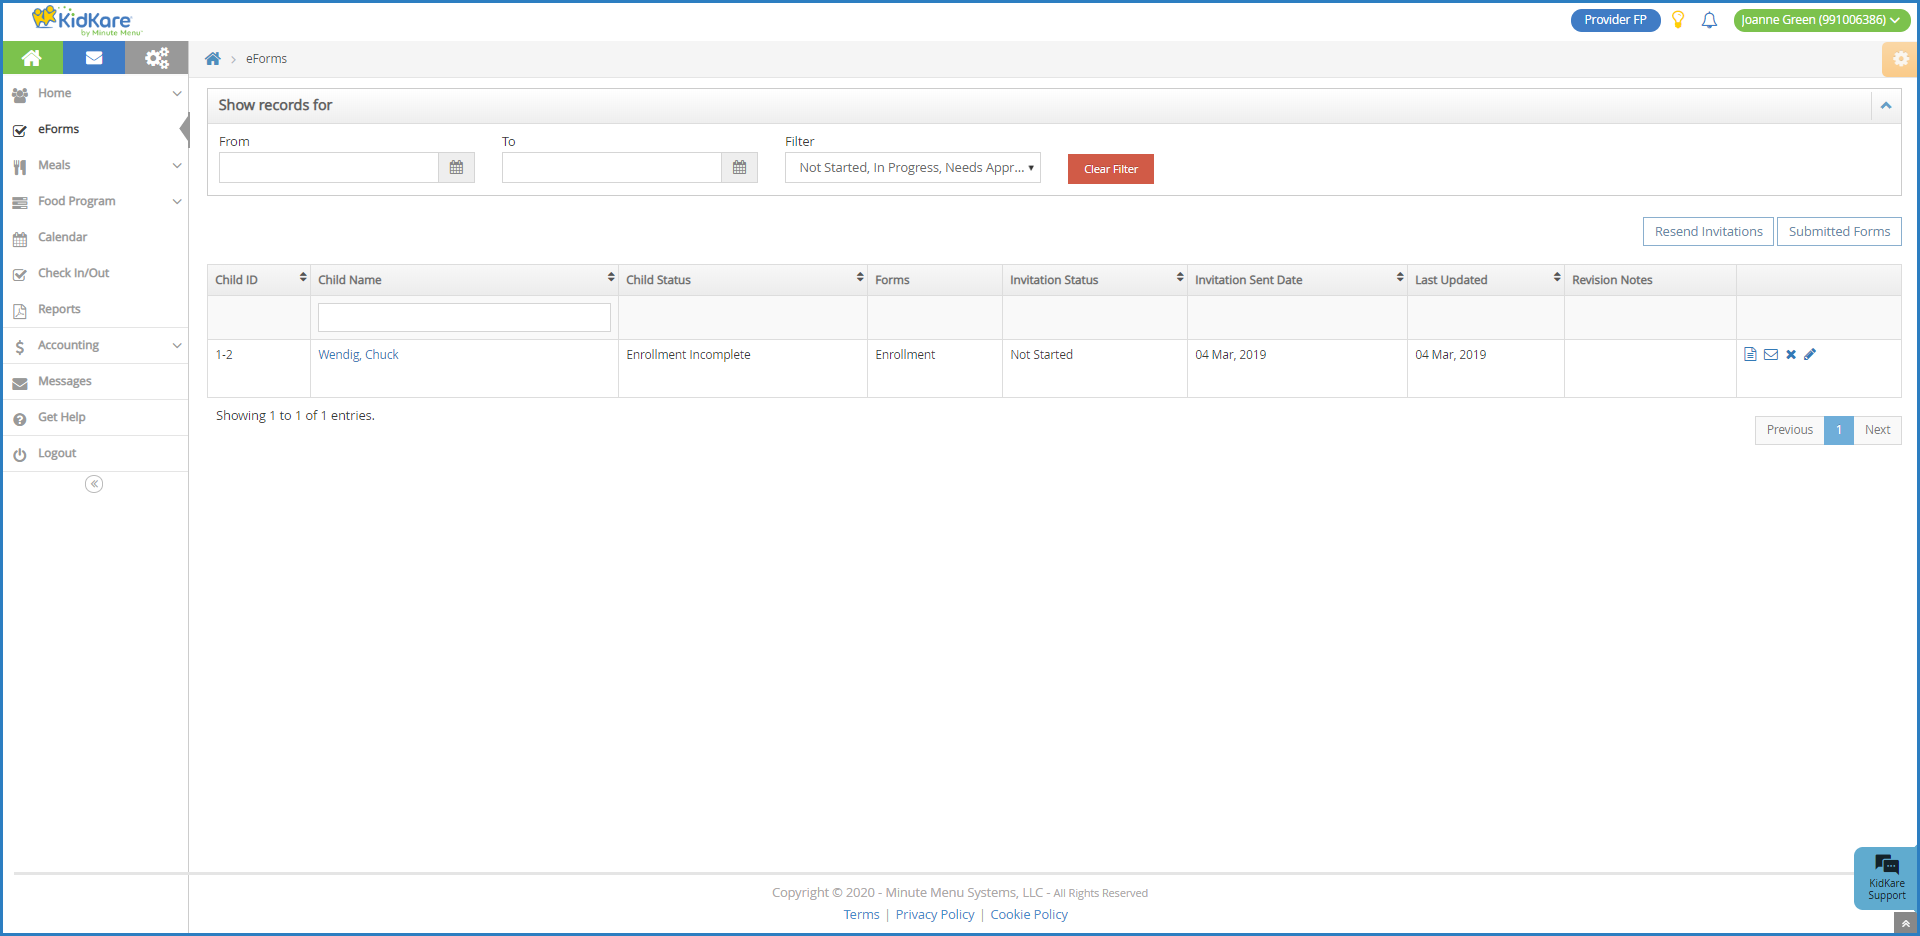
From the menu to the left, click eForms. The eForms page opens.
-
Use the From and To boxes to select a date range to view.
-
To view forms from a specific date to the current date, select a date in the From box and leave the To box blank.
-
To view forms up to a specific date, leave the From box blank and select a date in the To box.
-
To view forms for a single day, select the same date in the From and To boxes.
-
-
Click the Filter drop-down menu and select the form status to view. You can select multiple statuses, if needed.
-
To filter to a specific child, click the Participant Name box, and begin typing the participant's name.
Note: According to your display settings, this option may be called something else, such as Child Name. For more information, see Set Display Settings.
-
You can sort information in ascending or descending order by the following columns:
-
Participant ID
-
Participant Name
-
Participant Status
-
Invitation Status
-
Invitation Sent Date
-
Last Updated
-
Some of the columns listed above may not display. To customize which columns display, click Filters in the top-right corner and click each column to select it. You can also change the default sort options.
Resend Invitations
You can resend invitations to those guardians who did not receive the initial email. There are two ways you can do this:
-
Click Resend Invitations to resend invitations to every child listed on the page. Click Yes at the confirmation prompt.
-
Click
 on the row for the participant to whom to send an invitation.
If the guardian still does not receive the email, instruct them to check their spam/junk folders and confirm that you have the correct email address on-file. Click the link in the Participant Name column to open a pop-up and enter/correct the guardian's email address.
If the guardian does not have an email address, you can open the form for them to complete onsite. See below.
Mark Forms as Manually Completed
If a guardian completes a paper form and turns it in to you, click ![]() on the appropriate row to mark that form as manually completed. You must then mail the completed and signed forms to your food program sponsor.
on the appropriate row to mark that form as manually completed. You must then mail the completed and signed forms to your food program sponsor.
Cancel Invitations
You can cancel enrollment invitations, if needed. For example, a parent may decide to withdraw their participant before completing enrollment forms. To do so:
-
Click
 on the appropriate row.
 -
Click Delete at the confirmation prompt.
Completing eForms Onsite
You can open forms for guardians to complete on-site, if needed. This allows those guardians who do not have access to the Internet, their own device, or email address, to complete required forms. Watch the video below, or, scroll down to view step-by-step instructions.
-
From the menu to the left, click eForms.
-
In the Show Records For section, set filters, if needed.
-
Use the From and To boxes to set a date range to view.
-
Click the Filter drop-down menu and select the status to view.
-
-
Click
 for the row to open. You can open the income eligibility form, the enrollment form, or both forms.
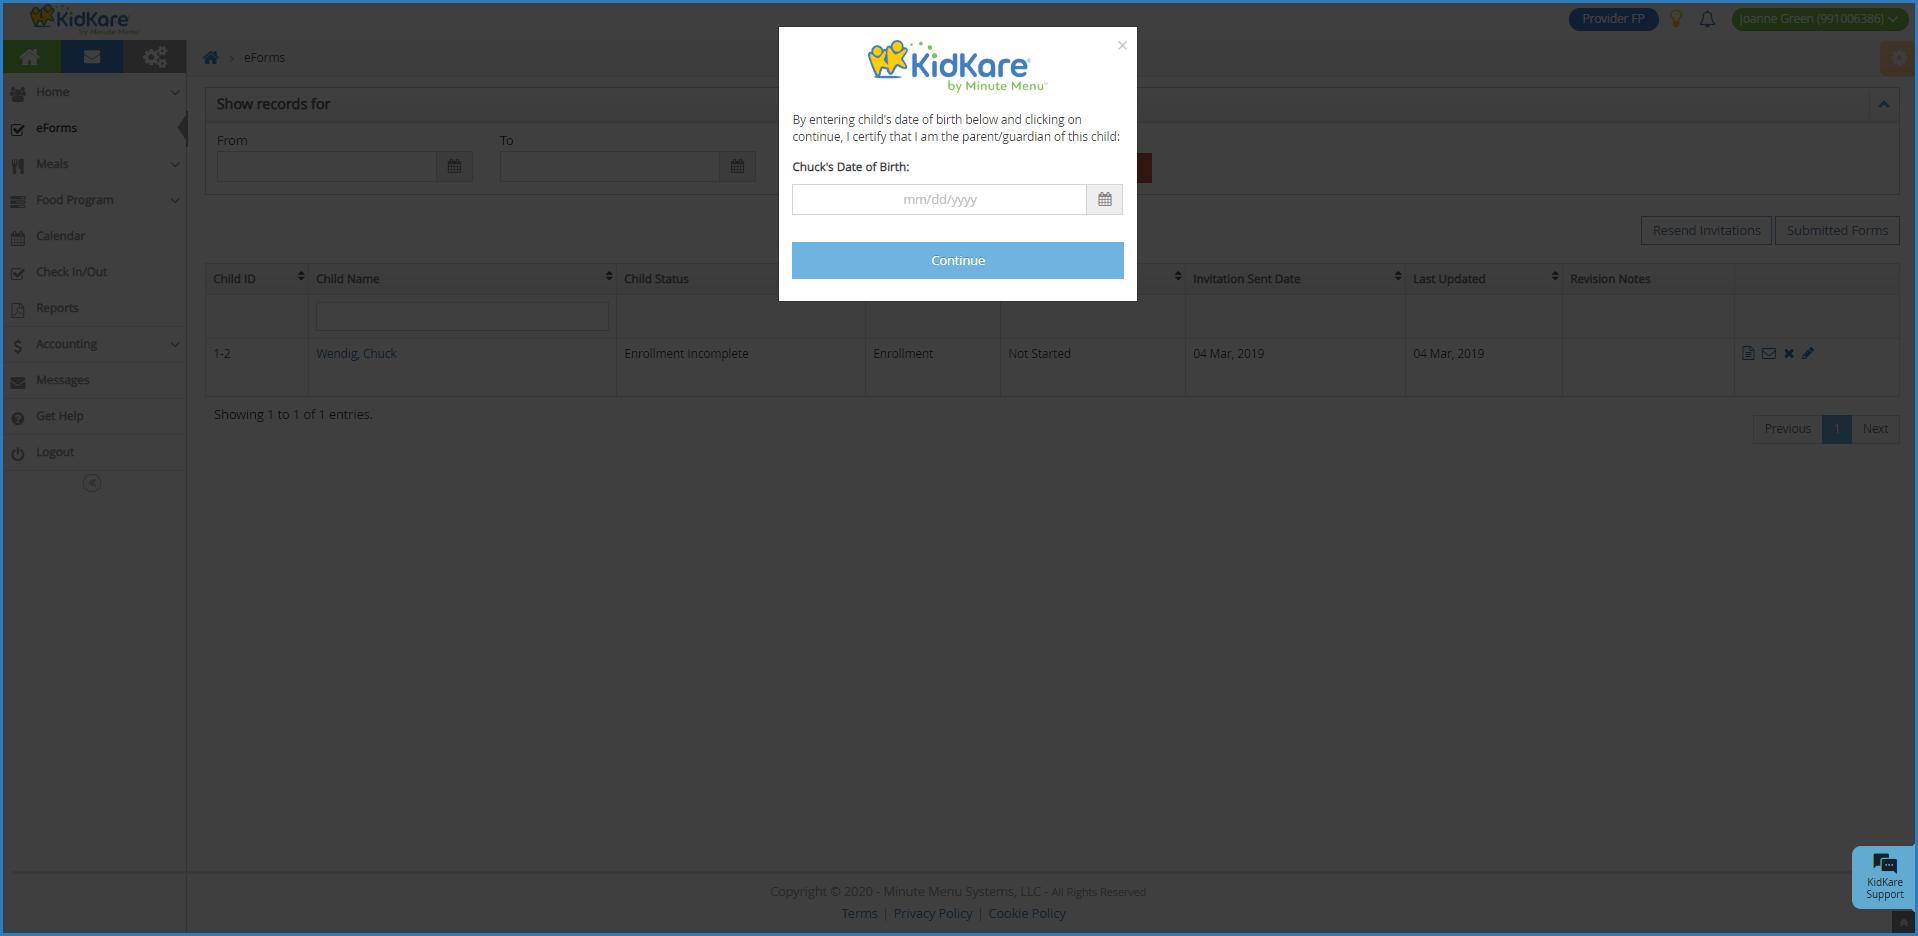
-
Have the guardian use the computer/device to complete the forms, beginning with the participant's date of birth.
-
Once the guardian has completed each page of the form, you are returned to the eForms page. The completed form has one of the following statuses:
-
Needs Approval: Click
 to review and approve the form.
 -
Submitted: The form was submitted directly to your sponsor. No action is necessary.
-
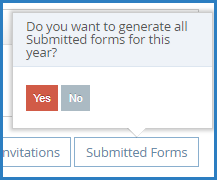
Generate Submitted Forms
You can generate submitted forms from the eForms page. Generating submitted forms will print eForms that are in the following statuses for the current year only:
-
Submitted (parent)
-
Submitted (site)
-
From the menu to the left, click eForms.
-
Click Submitted Forms.
-
At the Do You Want to Generate All Submitted Forms for This Year prompt, click Yes.