Once you add users, edit their profiles to change or customize their user permissions, enter contact information, enter demographic information, and so on.
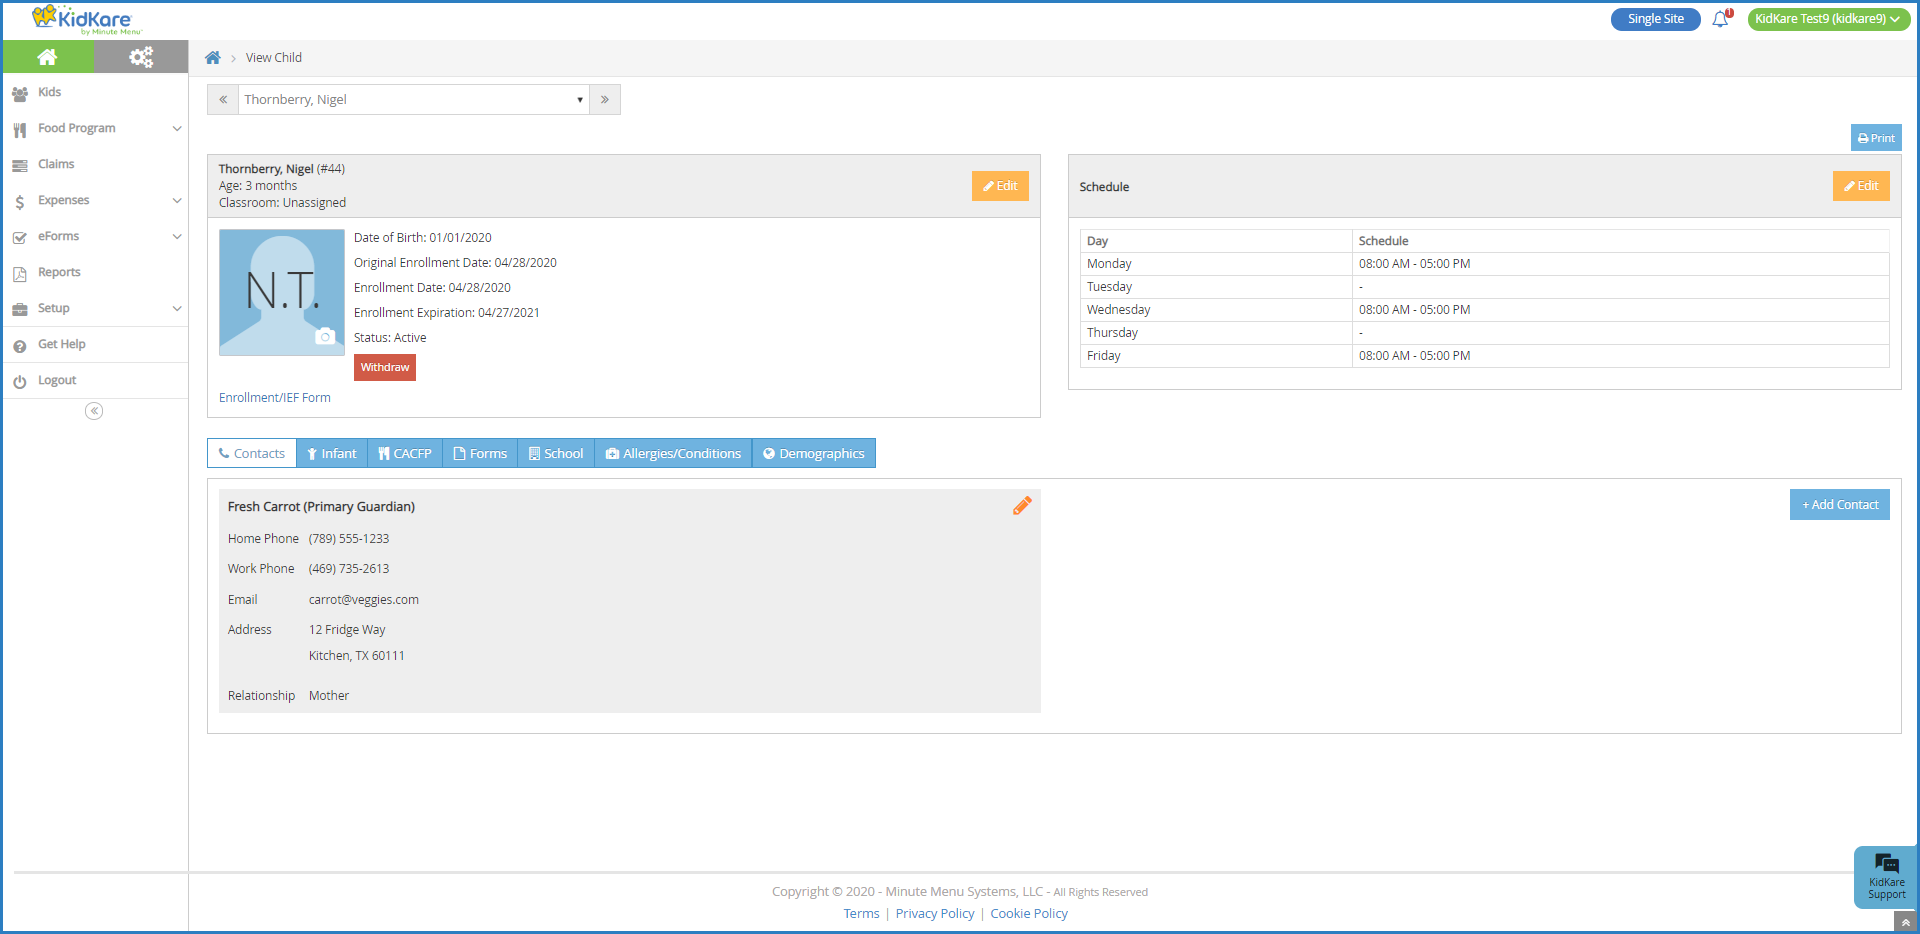
Edit Participant Details
To edit participant details:
-
From the List Children screen, click the participant name to view participant details.
-
Click Edit in the section or tab to change. You can update the following:
-
Participant Details
-
Schedule
-
Contacts
-
Infant (Infants Only)
-
CACFP
-
Forms
-
School
-
Allergies/Conditions
-
Demographics
-
-
Enter information over the existing information, and click the sliders to enable/disable certain settings.
-
When finished editing a section/tab, click Save.
-
Click
 or
or  to navigate to a new participant profile, if needed.
Edit Participant Schedules
The Schedule section of the Participant Details page displays the participant's schedule. This indicates when the participant is usually present at your center. Available dates correspond to the days you set in the Days Open field in the Business Details tab on the Site Details page.
All users can view enrolled participants. However, you must have the Child Details permission enabled on your account to view and edit participant details.
To add or update the participant's schedule:
-
From the List Children screen, click the participant name to view participant details.
-
Click Edit in the Schedule section. The Participant Schedule pop-up opens.

-
Enter or change the participant's schedule, as needed.
-
Click the In and Out boxes and enter the participant's usual in and out times. Click
 to add an additional set of in/out times. You can enter a partial time in the In box and press Tab to automatically complete it. For example, if you enter 7 and press Tab, the box automatically changes to 7:00 AM.
 -
Click the
 next to Times Vary if the child's in and out times typically vary from what is entered here.
 -
Click
 next to At-Risk After School if this participant participates in the At-Risk After School program.
-
-
When finished, click Save.
Withdraw a Participant
When a participant leaves your care, withdraw them. You can re-enroll them at any time.
All users can view enrolled participants. However, you must have the Child Details and Child Enrollment permissions enabled on your account to view participant details and withdraw participants.
-
From the List Children screen, click the participant name to view participant details.
-
On the View Child page, click Withdraw.
-
Set the withdrawal date. This defaults to today's date so make sure to change it to the last day the participant was in your care.

-
Click Withdraw again to save.
Manage Participant Schools
The School tab at the bottom of the Participant Details page displays whether the participant is enrolled in school. If the participant is enrolled in school, the school type, district, and name displays. If the participant is not enrolled, the text Participant is Not Enrolled in School displays.
-
From the List Children screen, click the participant name to view participant details.
-
Click the School tab at the bottom of the page.
Adding a School
-
Click Add School.

-
Click the School Type drop-down menu and select the type of school the participant attends. For example, if the participant is enrolled in morning kindergarten, you can select A.M. Kindergarten.
-
Click the School District drop-down menu and select the district in which the participant's school resides.
-
You can click the Type to Search box and begin typing the name of the district to filter the list.
-
Click Clear to clear the selected district.
-
-
Click the School Name box and enter the name of the participant's school.
-
When finished, click Save.
Editing a School
-
Click Edit.
-
Enter new information over the existing information.
-
When finished, click Save.
Removing a School
If the participant is not currently enrolled in school, you can remove the school from the participant's profile.
-
Click Edit.
-
Click the School Type drop-down menu and select No School.
-
Click Save.
Manage Participant Contacts
The Contacts tab at the bottom of the Participant Details page displays contact information for the participant's guardian(s). You can edit existing contacts or add new contacts. You must have at least one contact listed on the participant record.
-
From the List Children screen, click the participant name to view participant details.
-
Click the Contacts tab at the bottom of the page to view, edit, and add contacts.
-
Click
 next to a contact to change it. Enter new information over the existing information and click Save.
-
Click Add Contact to add a new contact. Enter the contact's information. Boxes marked with an asterisk are required. To mark this new contact as the participant's primary contact, click
 next to Primary Guardian. When finished, click Save.
-
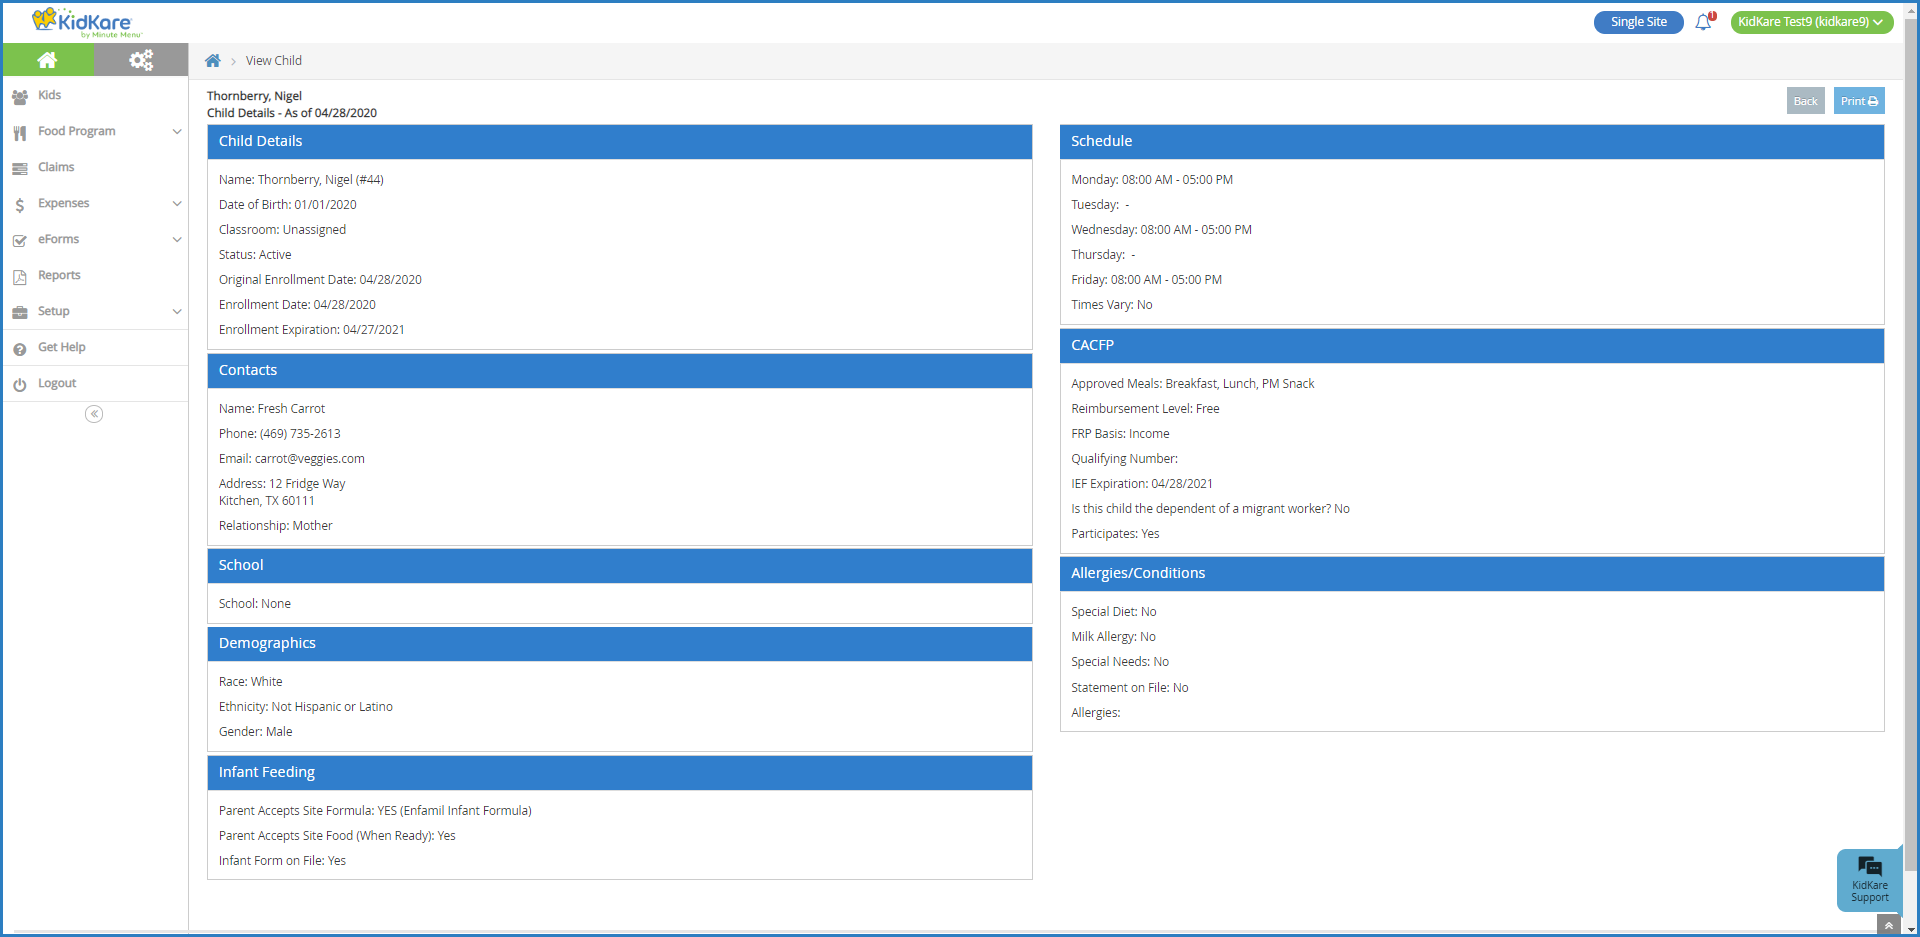
Print Participant Details
To print participant details:
-
From the List Children screen, click the participant name to view participant details.
-
Click Print in the top-right corner. A printer-friendly version of the View Participant page opens.
-
Click Print. The Print Preview opens.
-
Click the
 button to continue printing. Click the
  button to go back to the previous screen.