About eForms
eForms is an all-in one enrollment process for the food program that eliminates paper forms for homes and your back-office. With this feature, you can send enrollment invitations directly to parents, track enrollment status, and approve and renew child enrollment with a single click.
Click here for more information about the eForms feature and to sign up for an informational webinar about how it can save your agency time and increase food program reimbursements!
Getting Started Checklist
Click here to print a useful checklist for getting started with eForms. Follow along with the steps, and check each item off as you complete it.
eForms Process Overview
Log in to KidKare at app.kidkare.com
-
Add a Signature to KidKare: Each form you approve and renew through eForms requires your signature. Before yo approve and renew forms, add your signature to KidKare.
-
Enable Providers: Give providers access to the eForms center. Providers remain enabled until you disable them.
-
Send Invitations: Send invitations to parents/providers to update child enrollment forms. Use filters to select the providers/children to which to send invitations. Parents with an email address on file automatically receive an email that invites them to update child enrollment and/or income eligibility information online.
-
Providers: Providers can view a list of all sent invitations, which allows them to follow-up with parents, have parents update enrollments online using a device at the home, cancel invitations (if needed), or even fill out paper forms (providers can then mark the form as completed on-site).
-
View Status: You can see how many new enrollment forms and/or income eligibility forms have been completed, started (but not finished), canceled, and so on. The eForms feature provides an overview of all statuses across all providers who use the eForms feature.
-
Renew: Once the enrollments are complete, review them by comparing the old forms to the new forms. You can also view parent signatures. Once you've reviewed the data, update the information in KidKare with the click of a button.
Add a Signature for eForms
Each form you approve and renew through eForms requires your signature. Before you approve and renew forms, add your signature to KidKare in the Add Signature popup.
To do so:
-
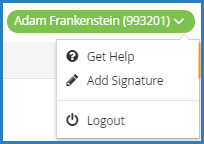
Click Welcome in the top-right corner, and select Add Signature.
-
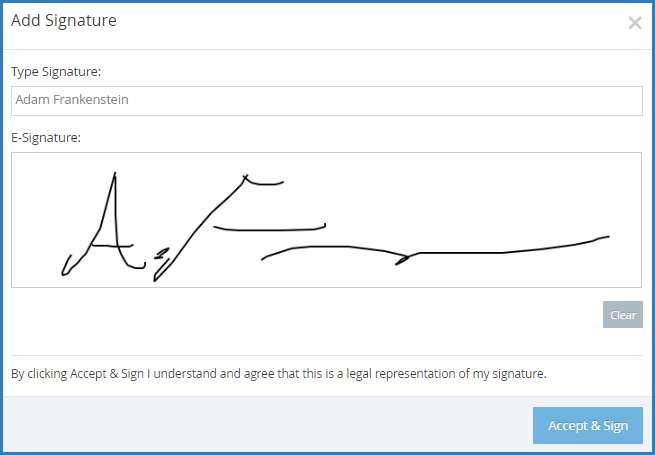
Click the Type Signature box and type your name.
-
Using your mouse, finger, or stylus, sign the E-Signature box.
-
Click Accept & Sign.
Update eForms Settings in KidKare
There are four settings for eForms you can adjust in KidKare:
-
Allow providers to send new enrollment requests to parents: Enable this option to allow your providers to send new enrollment invitations to parents. You must still approve/renew forms received.
-
Require providers to approve enrollment forms: Enable this option to require providers to review and approve enrollment forms before they are sent to you for final approval/renewal. This allows providers to catch any form errors and send forms back to parents for revision. Even with this option enabled, you can also send forms back for revision, if needed.
-
Require SNAP/TANF number validation: Enable this option to allow KidKare to check whether the SNAP/TANF number a parent entered is valid per state requirements. If a parent enters an incorrectly formatted number for their state, a warning message displays and they are unable to proceed until providing a correctly formatted number. This setting is set to No by default.
-
Collect income eligibility forms for own children in tier 1 homes: Federal regulations stipulate that providers who claim their own children in a Tier 1 home must complete an income eligibility form. Enable this option to require your Tier 1 providers to provide income information for their own children. This setting is set to No by default.
To enable or disable these settings:
-
At the top of the menu to the left, click
 . The Settings Page opens.
 -
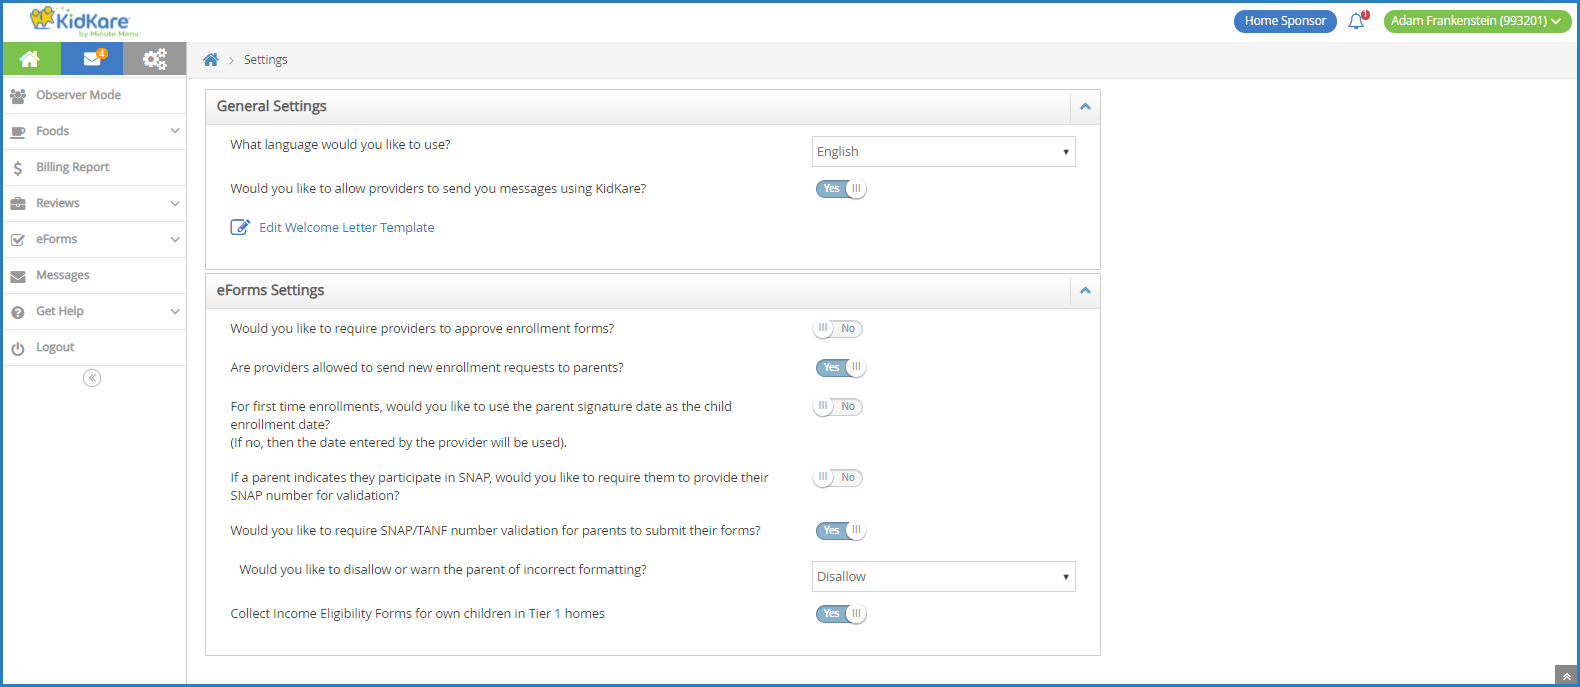
In the eForms Settings section, click
 next to each option to enable/disable:
-
Would you like to require providers to approve enrollment forms?
-
Are providers allowed to send new enrollment requests to parents?
-
For first time enrollments, would you like to use the parent signature date as the child enrollment date?
-
If a parent indicates they participate in SNAP, would you like to require them to provide their SNAP number for validation?
-
Would you like to require SNAP/TANF number validation for parents to submit their forms.
-
Would you like to disallow or warn the parent of incorrect formatting?
-
-
Collect income eligibility forms for own children in Tier one homes.
-
-
Your changes are saved automatically.
Enable SNAP/TANF Validation for eForms
You can require that SNAP/TANF numbers be validated before parents can submit their forms. Validation ensures that the parent provided a correctly-formatted SNAP/TANF number when completing income eligibility information.
When you enable this feature, you can also specify whether the parent is warned and able to submit their forms or whether parents cannot continue completing their forms until the number is formatted correctly.
To do so:
-
On top of the menu to the left, click
 . The Settings page opens.
 -
In the eForms Settings section, click
 next to Would you like to require SNAP/TANF number validation for parents to submit their forms? This enables SNAP/TANF validation.
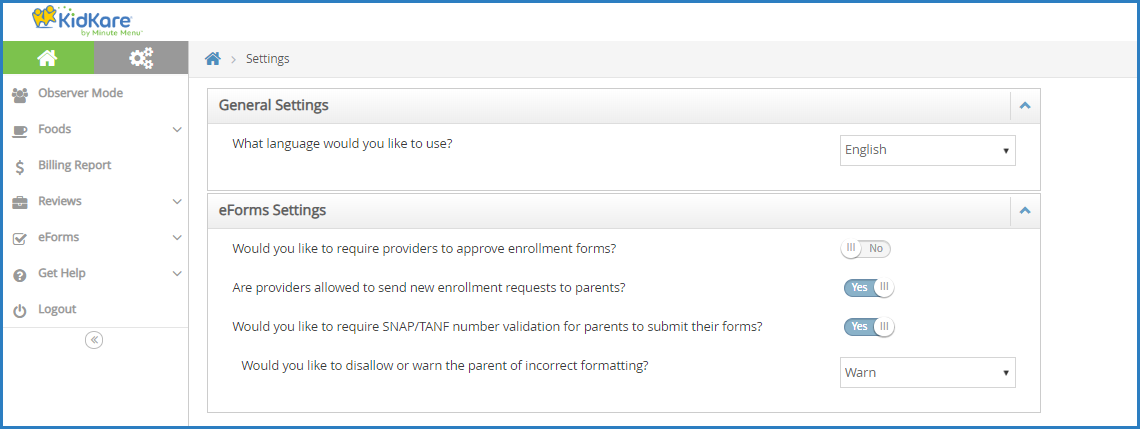
-
Next, specify what to do when a parent inputs an invalid SNAP/TANF number:
-
Warn: The parent will receive a message advising them that the provided SNAP/TANF number is invalid, but they will be able to complete and submit the form.
-
Disallow: The parent will receive a message advising them that the provided SNAP/TANF number is invalid, and they will be unable to complete and submit the form until they correct it.
-
Customize eForms Email Templates
Customize the emails parent/guardians receive when you send enrollment invitations, send forms back for revision, and approve enrollments. You can also customize the Thank You email sent when the parent submits their information.
-
From the menu to the left, click eForms.
-
Click Send Invitations. The Send Invitations page opens.
-
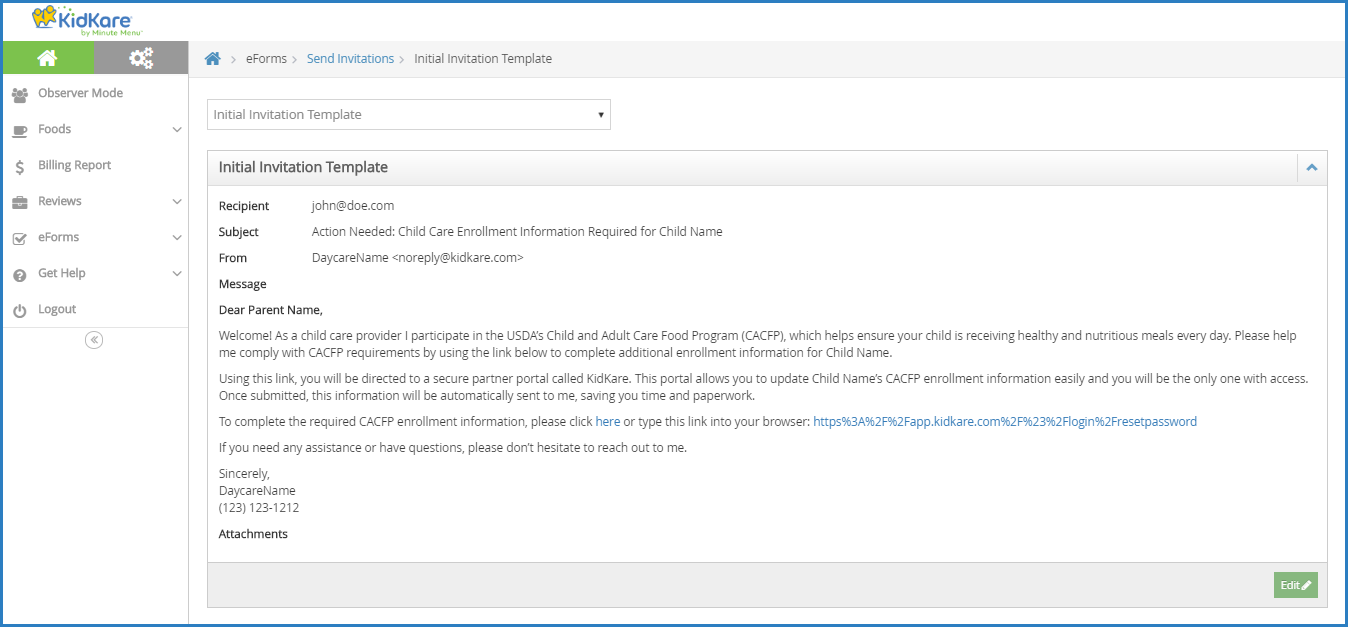
Click Edit Email. The Initial Invitation Template page opens by default.
-
Click the drop-down menu at the top of the page and select the template to edit. For example, select Thank You for Your Submission Template to edit the automated email parents/guardians receive upon form submission.
-
Click Edit in the bottom-right corner. The Rich Text Editor (RTE) opens. You can edit the Subject, From, and Message fields.
-
Use the toolbar to format your message text.

-
H1 - H6: Create headings. The largest heading is H1. The headings become progressively smaller from there.
-
P: Designate text as Paragraph text. This should be the main body of your message.
-
Pre: Create pre-formatted text for copying and pasting.
-
": Create a block quote.
-
B: Bold text.
-
I: Italicize text.
-
U: Underline text.
-
S: Strikethrough text.
-
•/123: Create bullted or numbered lists.
-
Undo/Redo: Click the arrows to undo changes and re-do changes.
-
Alignment Options: Left-align, center, right-align, or justify text.
-
Indentation: Indent a line or remove an indentation.
-
</>: Switch to HTML mode and use HTML to format instead of the RTE.
-
Images: Click the picture icon to embed an image.
-
Link: Click the link icon to add a hyperlink.
-
Video: Click the play button to embed a video.
-
-
Variables you can use are listed at the bottom of the editor. To use this variables, click in the message and type the variable exactly as it appears. These will populate user-specific information in the message when it is sent. For example, #ParentName# will display as John Smith if this email is sent to John Smith.
-
Click Add Attachment to add an attachment to this message.
-
When finished, click Save.
Collect Income Eligibility Forms for Provider's Own Children
Federal regulations stipulate that providers who claim their own children in a Tier 1 home must complete an income eligibility form. You can collect this information from providers via eForms in KidKare. To do so, set the Collect Income Eligibility Forms for own Children in Tier 1 Homes slider on the Settings page to Yes. For more information, see Update eForms Settings in KidKare.
There are two ways to track a provider's income eligibility to claim their own children:
-
At the Provider Level: This refers to the dates set in the Income Eligibility Start Date and End Date boxes in the Provider Information Tiering tab.

-
At the Child Level: This refers to the dates set in the Tier 1 Start Date and Tier 1 End Date boxes in the Child Information Rules tab.

If you decide to track income eligibility for providers' own children with eForms, you will be tracking at the child level. In this case, you may also need to adjust preference K.004 for claims to process correctly.
-
Click the Administration menu and select Sponsor Preferences. The Sponsor Preferences window opens.
-
Use the Select the Category to Move To drop-down menu and select Child Info.
-
Check preference K.004. If this preference is already set to Disallow, you do not need to make additional changes at this time. If it is not, we recommend making one of the changes below:
-
Set the preference to Disallow. Then, enter all income start and end dates listed in the Provider Information Tiering tab in the Tier 1 Start Date and Tier 1 End Date boxes in the Child Information Rules tab.
-
Set the preference to Ignore. When income eligibility forms are approved in eForms, you can also update the provider income dates in HX at the same time. This will allow you to continue tracking a provider's income eligibility to claim their own children at the provider level.
-
Leave the preference set to Ignore, for now. Manually update the provider's income eligibility dates, as stated above. Then, once you collect the first set of income dates at the child level from eForms, set this preference to Disallow.
-