Creating Invoices
When creating invoices, you can invoice siblings at the same time, and you have the option to invoice withdrawn children.
-
From the menu to the left, click Accounting.
-
Click Income.
-
Enter your Accounting PIN and click Go.
-
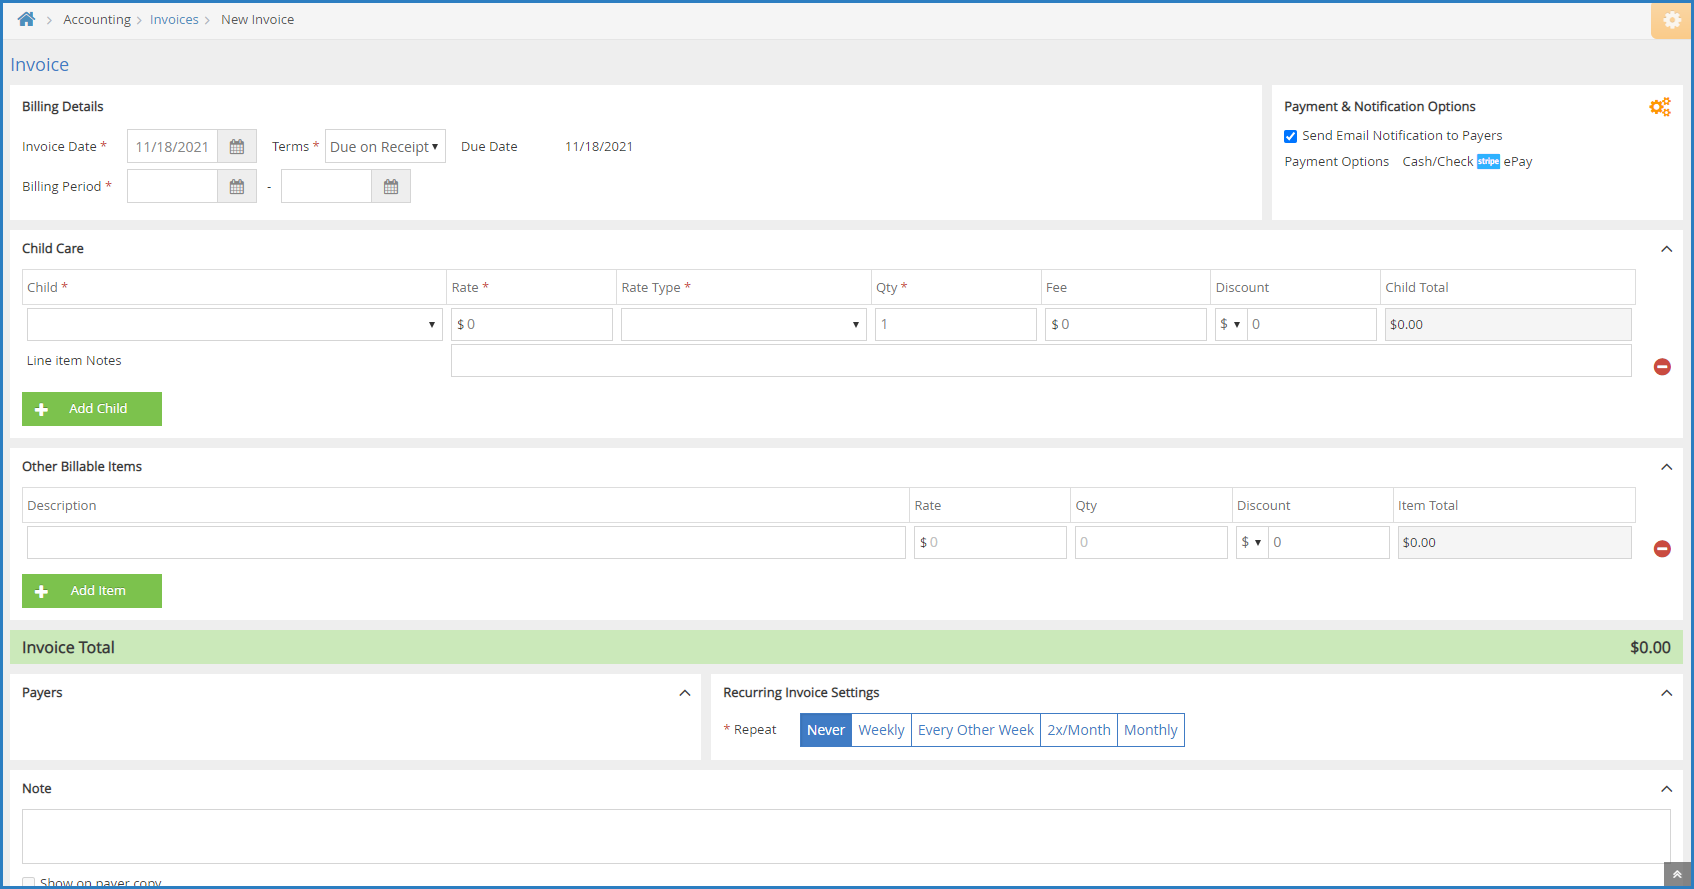
Click Add Invoice. The New Invoice page opens.
-
In the Billing Details section:
-
Click the Invoice Date box and select the invoice date from the calendar. This defaults to today's date.
-
Click the Terms drop-down menu and choose from the following:
-
Due on Receipt
-
Due in 7 Days
-
Due in 15 Days
-
Due in 30 Days
-
Custom
-
-
If you selected Custom in Step 5b, click the Due box and enter the number of days from the invoice date that this invoice is due. The Due Date field to the right updates automatically.
-
Click the Billing Period boxes and set the first and last day of the billing period for this invoice.
-
-
In the Payment & Notification Options section:
-
Click
 . The Payment Options dialog box opens.
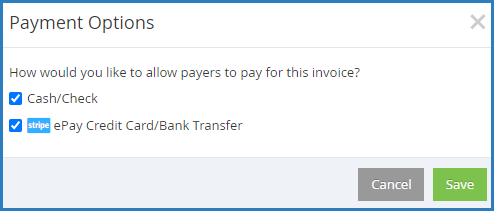
-
Check the box next to each payment method to allow for this invoice.
-
Click Save. The Payment Options dialog box closes.
-
Check the Send Email Notification to Payers box to send an email to payers once this invoice is completed.
-
-
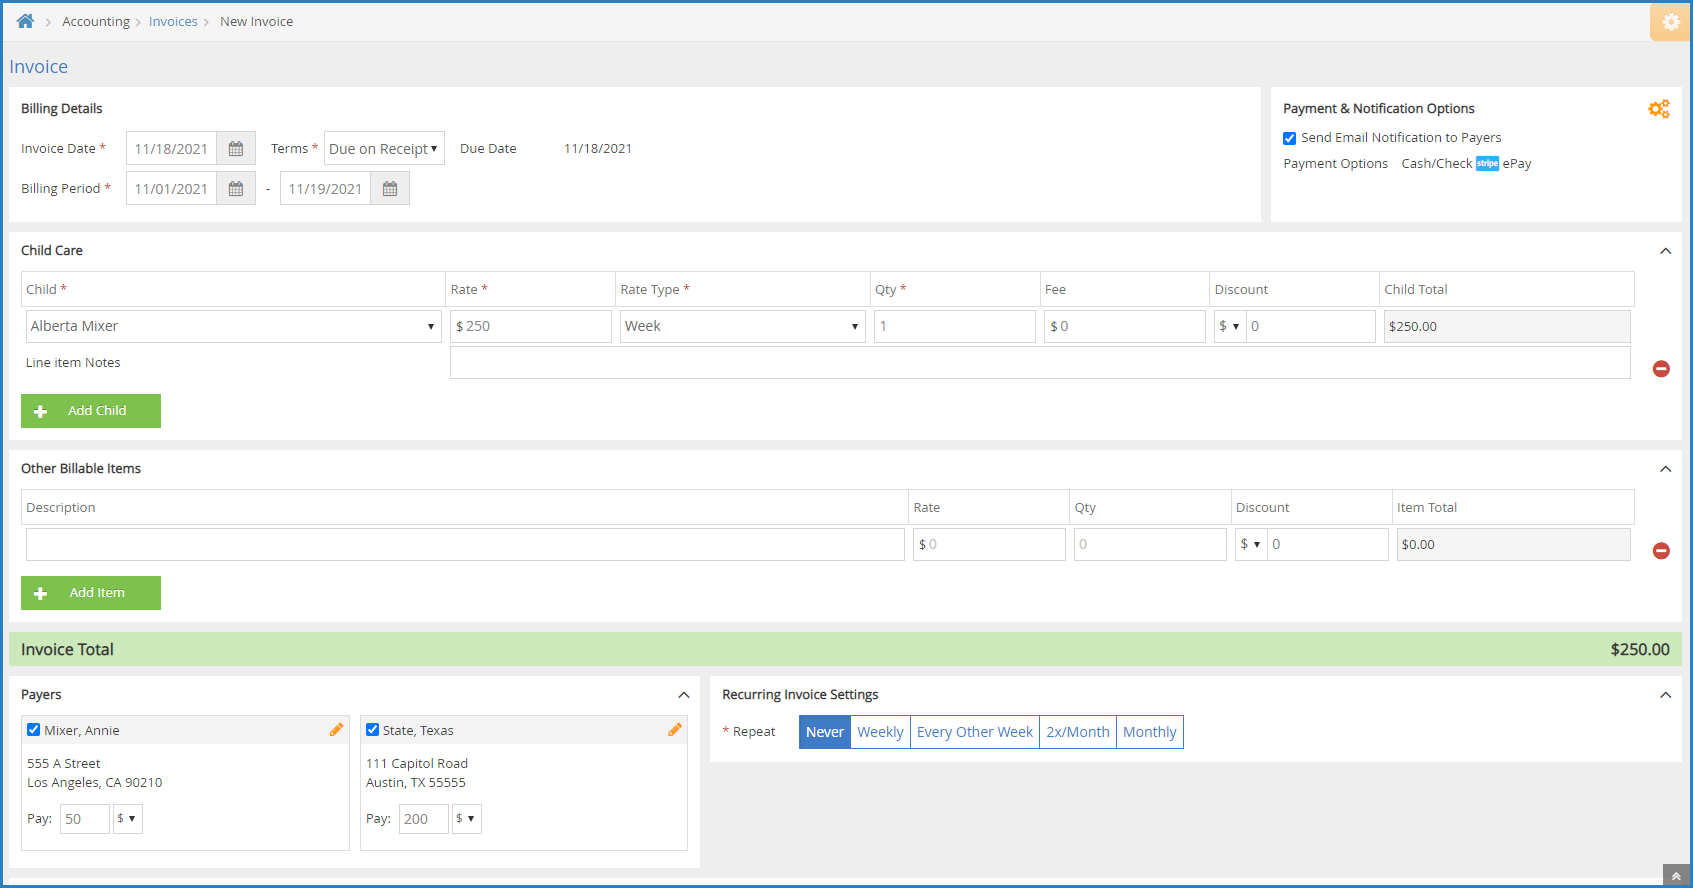
In the Participant Care section:
-
Click the Participant drop-down menu and select the participant to add to this invoice. If there is a default rate set on the participant's account, the Rate and Rate Type boxes populate automatically.
Note: If you need to create an invoice for a Pending participant, click Filters in the top-right corner, and select Pending. This will include Pending participants in the Participant drop-down menu.
-
Click the Rate box and enter the base rate to charge for this participant.
-
Click the Rate Type drop-down menu and choose from the following:
-
Hour
-
Half Day
-
Day
-
Week
-
Two Weeks
-
Month
-
Attendance
-
-
Click the Qty box and enter the number of units charged. For example, if you selected Day in Step 6c, this would be the number of days for which you are charging.
-
Click the Fee box and enter any additional fees charged.
-
Click the Discount box and enter any discounts that apply. This can be a dollar amount or percentage. To change it, click the $ drop-down menu and select %.
-
Click the Line Item Notes box and enter any notes about the charges.
-
To add another participant to the invoice, click Add Participant and repeat Steps 6a-6g. Participants must be set up as siblings before you can add them to the same invoice.
-
-
In the Other Billable Items section:
-
Click Description box and enter a description of the billable item. For example, you may be charging for diapers.
-
Click the Rate box and enter the rate charged for this time.
-
Click the Qty box and enter the amount of this item to bill.
-
Click the Discount box and enter any discounts that apply. This can be a dollar amount or percentage. To change it, click the $ drop-down menu and select %.
-
Click Add Item and repeat Steps 7a - 7d for each billable item to add.
-
-
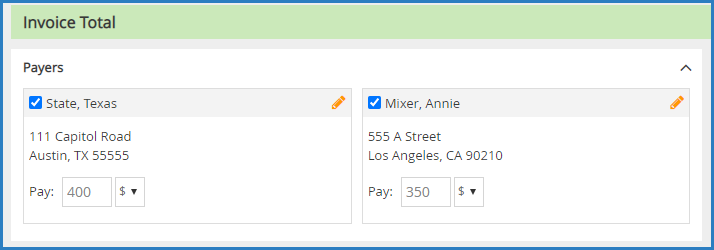
In the Payers section, check the box next to each payer who should receive this invoice.
-
If a payer has an account credit, click
 next to the credit to apply it to this invoice.
 -
Click the Note box and enter any notes about this invoice. To show this note on the payer's copy, check the Show on Payer Copy box.
-
Choose from the following options:
-
Click Save as Draft to save this invoice as a draft and return to working on it later.
-
Click Preview to preview the invoice. If you checked the Send Email Notification to Payers box in Step 6d, you can customize the email the payer receives before sending the invoice.
-
Click Create Invoice to create the invoice without previewing it. The invoice is created at Unpaid status and you are returned to the invoices list. If you checked the Send Email Notification to Payers box in Step 6d, the invoice is sent to the payer.
-
Once you create or create and send an invoice, it moves from Draft status to Unpaid status. Once the guardian makes a payment, you can record a payment to the invoice. For more information, see Record Invoice Payments.
Edit Invoices
You can edit unpaid, paid, partially paid, and recurring invoices, as needed. Note that you must remove payments from paid or partially paid invoices before you can edit them. Click the links below to jump to a specific invoice type.
Edit Unpaid Invoices
Editing unpaid invoices is relatively straightforward and does not require additional steps. You simply make changes to the invoice and provide the updated copy to the Payer.
-
From the menu to the left, click Accounting.
-
Click Income.
-
Enter your Accounting PIN and click Go.
Note: If you do not have an Accounting PIN set, you are prompted to set one.
-
Use filters to locate the invoice to change.
-
Click the invoice to update. The View Invoice page opens.
-
Click the Invoice Actions drop-down menu and select Edit Invoice. The Edit Invoice page opens.
-
Make changes, as needed. For details, see Create an Invoice.
-
When finished, click Update. The Preview Invoice page opens.
-
Review the updated invoice details and make changes to the email (to the right), as needed.
-
Click Re-Send Invoice. The updated invoice is emailed to the Payer.
Edit Partially Paid or Paid Invoices
If you have recorded a payment on an invoice, you must first delete payments from it before you can change it. When you delete payments, the paid amount is automatically recorded on the Payer account as an account credit that can be applied towards the update invoice/future invoices. You can also record a refund instead. See Record Refunds for more information.
-
From the menu to the left, click Accounting.
-
Click Income.
-
Enter your Accounting PIN and click Go.
-
Use filters to locate the invoice to change.
-
Click the invoice to update. The View Invoice page opens. You must either record a refund or delete payments.
-
Click the Invoice Actions drop-down menu and select Delete Payments.
-
At the Are You Sure prompt, click Delete.
-
Click the Invoice Actions drop-down menu and select Edit Invoice. The Edit Invoice page opens.
-
Make changes, as needed. For details, see Create an Invoice.
-
When finished, click Update. The Preview Invoice page opens.
-
Review the updated invoice details and make changes to the email (to the right), as needed.
-
Click Re-Send Invoice. The updated invoice is emailed to the Payer.
Add Comments to Invoices
You can add internal comments to each invoice. Comments are stored on with the invoice, along with invoice history and payment activity. This allows you to keep a log of any pertinent information regarding payment.
- From the menu to the left, click Accounting.
- Click Income.
- Enter your Accounting PIN and click Go.
Note: If you do not have an Accounting PIN set, you are prompted to set one.
- Use the filters to locate the invoice to view.
- Click the invoice number for the invoice to view. The View Invoice page opens.
- Scroll to the Invoice Activity section.
- Ensure that the Comments tab is highlighted blue.
- Click + Add Comment.
- Click the text box that displays and enter your comments.

- Click Add Comment.
Comments cannot be removed from invoices once added.
While you can email invoices when you create them, you can also email existing invoices. This is useful if the payer did not receive the first email. Before emailing invoices, verify that you have the correct email address on file for the payer.
-
From the menu to the left, click Accounting.
-
Click Income.
-
Enter your accounting PIN and click Go.
Note: If you do not have an account PIN set, you are prompted to set one.
-
Filter to the invoices to email.
-
Check the box next to the invoice(s) to email. You can also check the box at the top of the column to select all invoices.
-
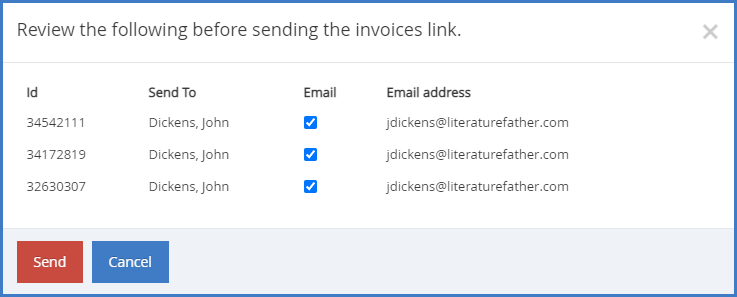
Click
 in the top-right corner above the invoices list. The Review the Following Before Sending the Invoices Link popup opens.
-
Confirm the displayed information is correct.
-
Click Send.
Payers cannot pay invoices online unless you have set up ePay in KidKare and have approved the specific payer for ePay.